Agent Tenure refers to the duration an agent has been active or onboarded within your organization on Convin. It helps you segment and analyze performance insights based on the agent’s experience level for instance, comparing newly onboarded agents with those who have been part of the organization for a longer period.
Steps on how to Use Agent Tenure Filter on Customer Intelligence:
- Navigate to Custom Insights Module:

- Select Customer Intelligence.
You will see three sections or tabs — Customer Intelligence, AI Insights, and Custom Tracking. Select Customer Intelligence.
Locate to Advanced Filters.

- Locate and Select Agent Tenure Filter.
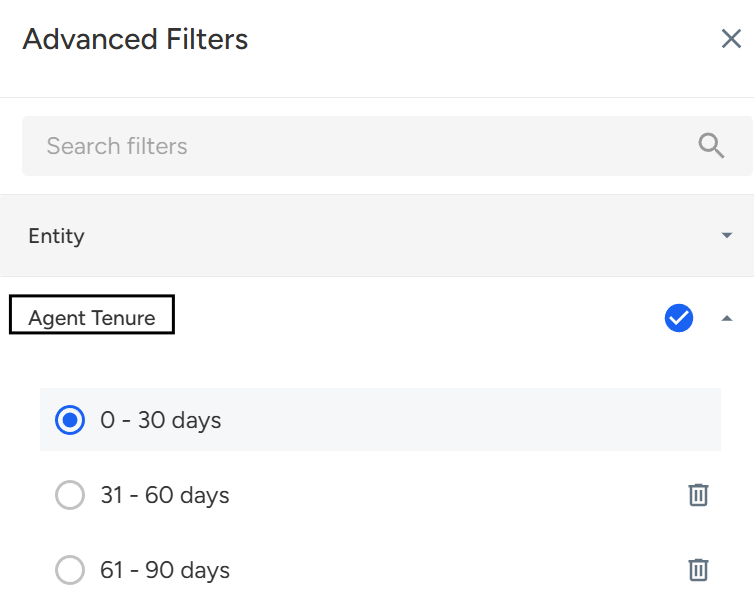
Choose the desired tenure range (e.g., 0–30 days, 31–60 days, 61+ days) to view data segmented accordingly. - Click Apply Filters to refresh your dashboard and view insights based on selected tenure.
Steps on how to Use Agent Tenure Filter on AI Insights:
- Navigate to Custom Insights Module:

- Select AI Insights.

You will see three sections or tabs — Customer Intelligence, AI Insights, and Custom Tracking. Select AI Insights. - Locate to Advanced Filters.

- Locate and Select Agent Tenure Filter.

Choose the desired tenure range (e.g., 0–30 days, 31–60 days, 61+ days) to view data segmented accordingly. - Click Apply Filters to refresh your dashboard and view insights based on selected tenure.

Steps on how to Use Agent Tenure Filter on Custom Tracking:
- Navigate to Custom Insights Module:

- Select Custom Tracking.

You will see three sections or tabs — Customer Intelligence, AI Insights, and Custom Tracking. Select Custom Tracking. - Locate to Advanced Filters.

Locate and Select Agent Tenure Filter.

Choose the desired tenure range (e.g., 0–30 days, 31–60 days, 61+ days) to view data segmented accordingly.Click Apply Filters to refresh your dashboard and view insights based on selected tenure.

📩 Still need help? Contact our support team at [email protected]—we’re happy to assist!
Good day!