The Billing section in Settings helps Admins manage purchases and billing details.
To access the "Billing" section, follow these steps:
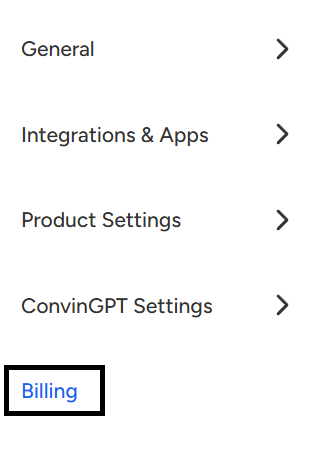
- Navigate to the Settings page of the Convin Dashboard.

- Scroll down, and you will find the "Billing" option listed there. Click on "Billing" to access the subscription and billing management options, where you can adjust licenses and manage payment details.
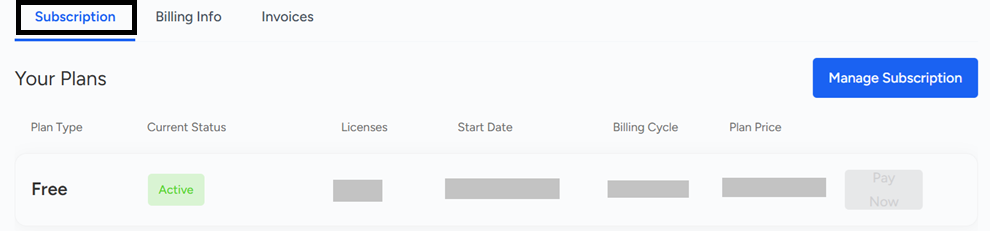
- Subscriptions: This page displays your active plan and offers Monthly, Half Yearly, and Yearly options based on your team size.
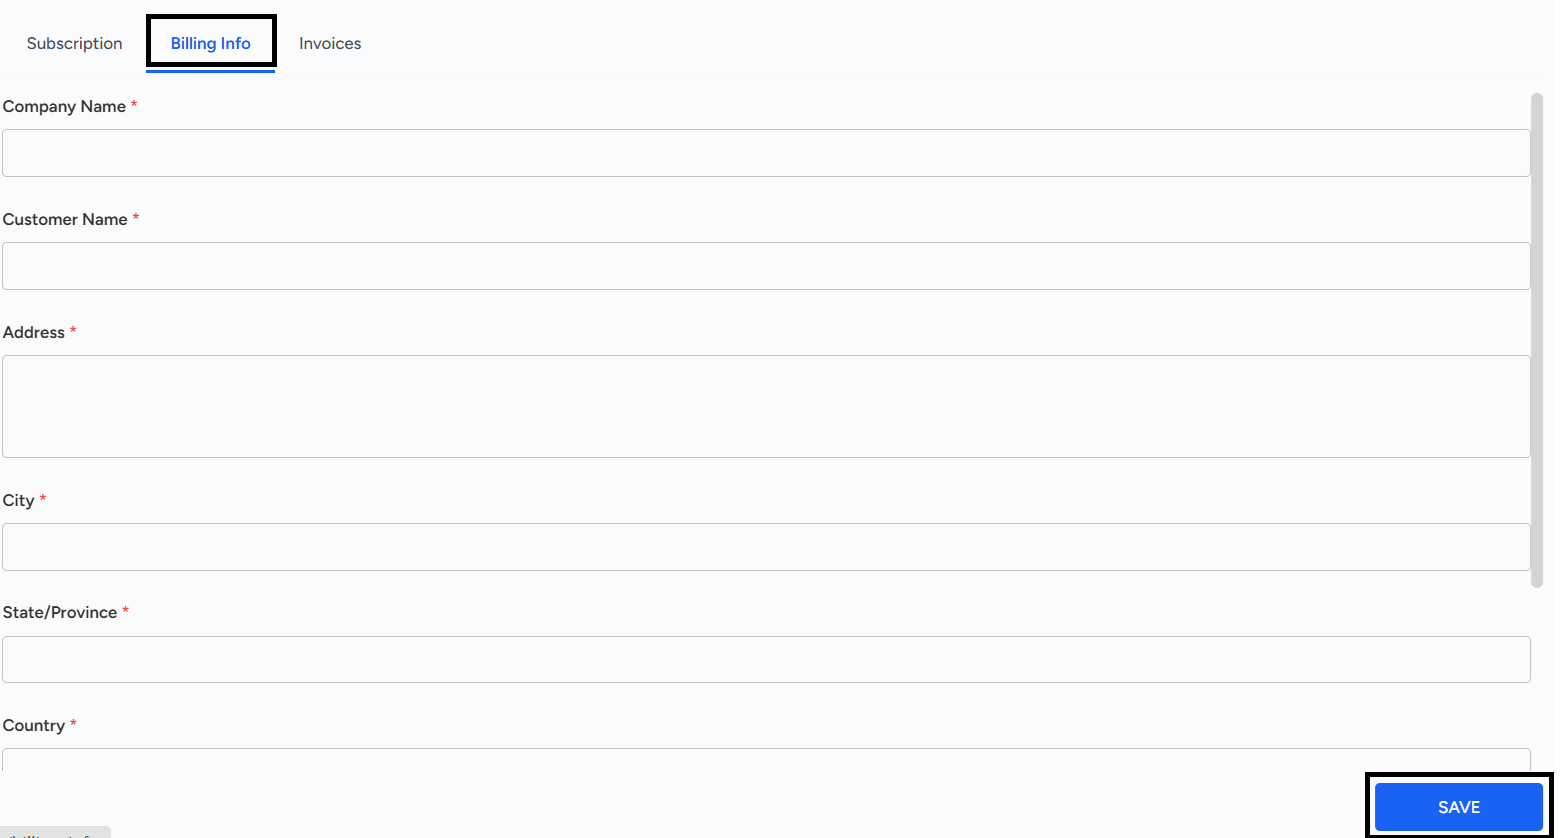
- Billing Info: This page prompts the user to provide essential details required for each billing cycle. After entering the information, click "Save" to update the details.
- Invoices: This page shows all raised invoices, including due/unpaid and paid invoices, giving a clear overview of your billing history.

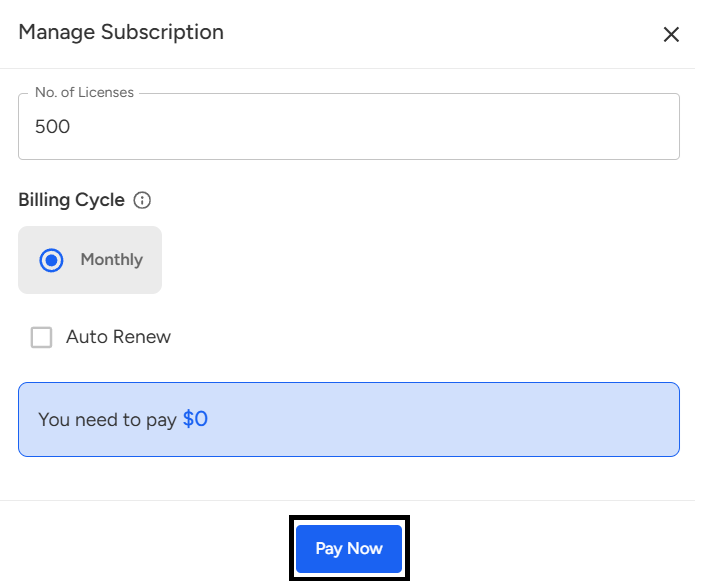
The Admin can also manage the company's Subscription in the Billing section, allowing them to increase or reduce the number of licenses and filling required details and click on Pay Now option based on the organization's requirements.
The Billing section in Convin Dashboard (under Settings) allows Admins to manage subscriptions, licenses, payment details, and invoices.
Subscriptions: View or change active plans (Monthly, Half-Yearly, Yearly).
Billing Info: Add/update details for billing cycles.
Invoices: Track paid and unpaid invoices.
Admins can also adjust licenses and complete payments directly from this section.
📩 Still need help? Contact our support team at [email protected] —we’re happy to assist!
Good day!